
Unlock the Secrets of Studio Lighting: Transform Your Photography Game!
Studio lighting is a pivotal element in photography that can significantly enhance the quality and appeal of your images. Whether you're capturing portraits, product shots, or creative compositions, the right lighting can elevate your work from ordinary to extraordinary. In this article, we will explore the various types of studio lights photography available for photographers, including continuous lights, strobe lights, and LED lights. Each type has its unique features and benefits, making it essential to understand which one suits your specific needs. By the end of this guide, you’ll be equipped with the knowledge to choose the right lighting setup for your photography projects and maximize your creative output.
Understanding Different Types of Studio Lights
When it comes to studio lights, photographers have several options to choose from, each with its own advantages and limitations. Continuous lights provide a constant source of illumination, allowing you to see exactly how the light interacts with your subject in real time. Strobe lights, on the other hand, emit short bursts of intense light, making them ideal for freezing motion and capturing high-quality images in various conditions. Lastly, LED lights have gained popularity due to their energy efficiency, versatility, and adjustable color temperatures. Understanding the differences between these types of lights is crucial for any photographer looking to enhance their work.
Continuous Lights
Continuous lights are a fantastic option for photographers who want to see the effects of their lighting setup immediately. These lights provide a constant beam of light, which is especially useful for beginners as they can visualize how shadows and highlights will fall on their subject. One of the key advantages of continuous lights is their ability to work well with video as well as still photography. However, they can generate heat and may not be as powerful as strobe lights, making them less ideal for certain situations. When setting up continuous lights, consider using softboxes or diffusers to soften the light and reduce harsh shadows. I remember a friend of mine who used continuous lights for a product shoot; the results were stunning, and the ease of setup made the process enjoyable.
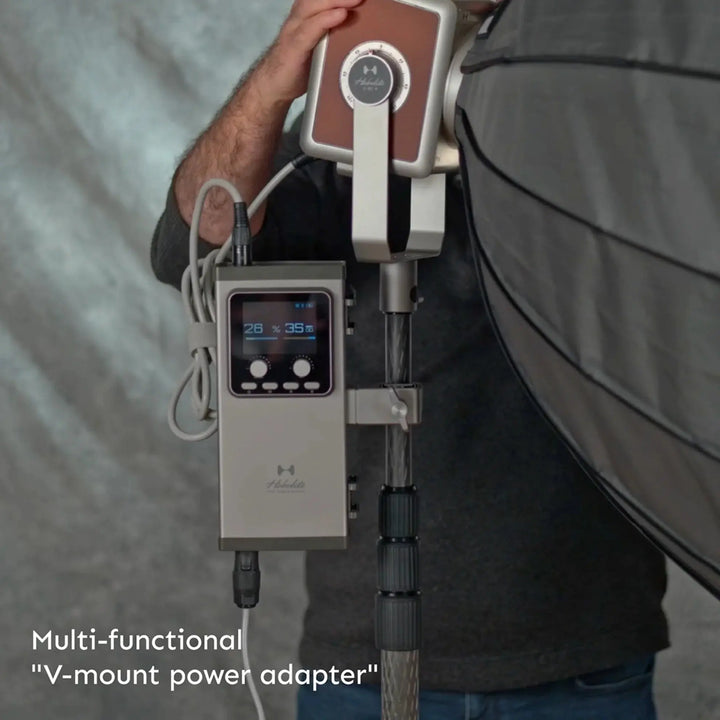
Strobe Lights
Strobe lights are a staple in professional photography studios for a reason. They offer bright, powerful bursts of light that can freeze motion, making them ideal for capturing fast-paced action or detailed portraits. Strobe lights typically allow photographers to adjust the power output, enabling greater control over exposure. However, they require careful setup and synchronization with your camera, which can be a learning curve for beginners. To get the best results, experiment with different settings and consider using light modifiers like softboxes, umbrellas, or grids to shape the light and prevent harsh shadows. A friend of mine who specializes in portrait photography swears by strobe lights for their versatility and the dramatic effect they can create when used properly.
LED Lights
LED lights have become increasingly popular in photography due to their energy efficiency, longevity, and versatility. Unlike traditional lighting options, LED lights emit minimal heat, allowing for longer shooting sessions without discomfort. They also come with adjustable color temperatures, enabling photographers to match their lighting to the ambient light of the environment. Moreover, their compact size makes them easy to transport and set up. When using LED lights, consider their placement and intensity to achieve the desired effect. I recently attended a workshop where the instructor demonstrated how to use LED lights creatively; the results were impressive, showcasing their adaptability across various photography styles.
How to Use Studio Lights Effectively
Using studio lights effectively requires an understanding of light positioning, shadow control, and mood creation. Start by experimenting with the placement of your lights—angle them towards your subject to create depth, or position them at varying heights to alter the shadow dynamics. Controlling shadows is crucial; too many shadows can distract from your subject while too few can make images look flat. Light modifiers like softboxes, reflectors, and diffusers can help manage shadows and create a more flattering look. Additionally, consider the mood you want to convey. Warm light can create an inviting atmosphere, while cooler light can evoke a more dramatic feel. My friend, a wedding photographer, often emphasizes the importance of lighting in setting the scene, and her stunning images reflect her mastery of studio lighting.
Maximizing Your Photography with Studio Lighting
In conclusion, understanding the different types of studio lights and how to use them effectively is essential for any photographer looking to improve their craft. From continuous lights that provide real-time feedback to powerful strobe lights that freeze action, and versatile LED lights that adapt to various shooting conditions, each type has something unique to offer. As you experiment with different lighting setups, you’ll not only enhance the quality of your photographs but also develop your style as a photographer. So, don’t hesitate to explore and play with lighting—your creativity will flourish as you unlock the secrets of studio lighting!