
Unlock the Secrets: Master the Art of Crafting Irresistible Fishing Lures!
Fishing lures play a vital role in the success of any angler. They are designed to mimic the movement, color, and scent of prey, drawing fish in for a bite. While there are countless lures available in stores, nothing compares to the satisfaction of making fishing lures for personal use, including the types of lures, the necessary tools and materials, a step-by-step guide to crafting your own, and tips for testing and refining your designs. Whether you are a seasoned angler or a curious beginner, this guide will unlock your creativity and enhance your fishing experience.
Understanding the Basics of Fishing Lures
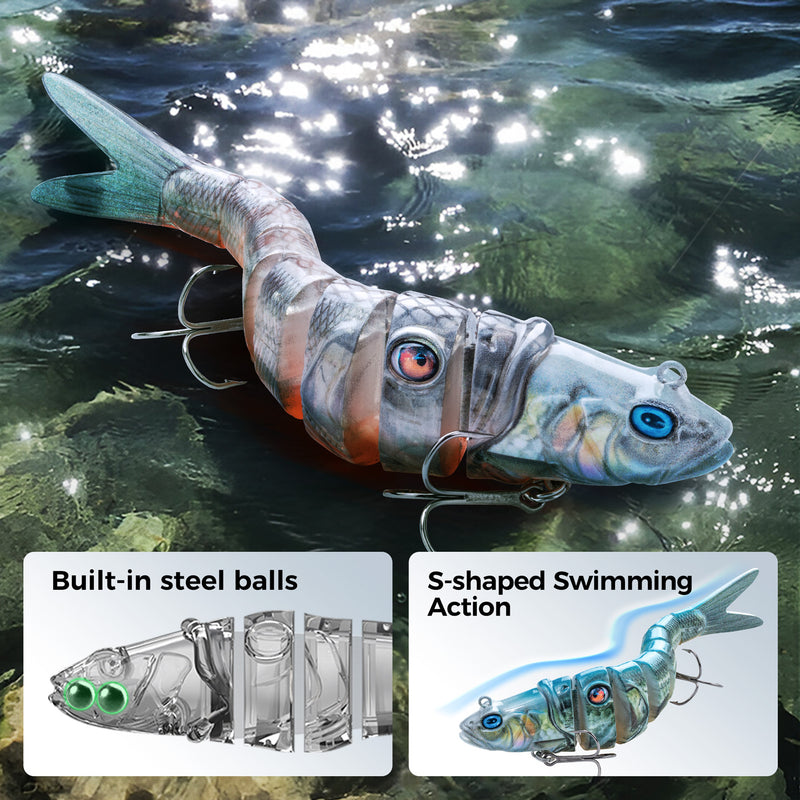
Fishing lures come in various types, each designed for specific fishing conditions and target species. The most common types include crankbaits, spinnerbaits, jigs, and soft plastics. Crankbaits mimic the movement of injured fish when retrieved, making them ideal for catching predatory species like bass. Spinnerbaits create vibrations and flash in the water, attracting fish even in murky conditions. Jigs are versatile and can be used in different water depths, while soft plastics can imitate a range of aquatic creatures. The materials used in lure making can vary widely, including wood, plastic, metal, and rubber. Understanding the purpose of each lure type will help you choose the right design for your next fishing trip.
Essential Tools and Materials for Crafting Lures
To start making your own fishing lures, you will need a few essential tools and materials. Basic tools include pliers, wire cutters, a lure-making mold, and a heat source for melting materials. Safety glasses and gloves are recommended to ensure protection while working with sharp tools and hot materials. The materials you will need often include lead or tungsten for weights, hooks, paints, and finishes. You can also incorporate feathers, beads, and other decorative elements to enhance the appearance of your lures. Always remember to handle tools with care and follow safety guidelines, as some materials can be hazardous if not used properly.
Step-by-Step Guide to Making Your Own Fishing Lures
Crafting a simple fishing lure can be a rewarding process. Start by choosing a basic design, such as a jig or a crankbait. If you opt for a jig, begin by melting your lead in a lure-making mold to create the weight. Once the lead is cooled and set, attach the hook using pliers. You can then paint the jig with vibrant colors that mimic local baitfish or enhance visibility in the water. For crankbaits, begin by carving the body from wood or using a pre-made plastic blank. Drill a hole for the hook and add weights as necessary for balance. After shaping, sand the surface smoothly and apply a base coat of primer. Once dry, paint the lure with your desired colors and patterns, and finish with a clear coat for durability. Assemble any additional components, such as rattles or blades, to complete your design. Allow the lure to dry completely before taking it out for a test run.
Tips for Customizing Your Lures
Customizing your lures can significantly enhance their effectiveness. Consider the local fish species and their feeding habits when designing your lures. For instance, if you’re fishing in clear water, opt for natural colors that mimic local prey. Conversely, in murkier water, brighter colors can help attract fish. Additionally, adjust the size and weight of your lures based on the depth and current conditions of your fishing spot. Adding unique features, like a different type of hook or a special finish, can also set your lures apart from the rest.
Testing and Refining Your Lures
Once you’ve crafted your lures, it’s essential to test their effectiveness. Take them out on the water and observe how they perform. Pay attention to how they move through the water and whether they attract fish. Keep a fishing journal to document your experiences, noting which designs work best under varying conditions. Don’t hesitate to make adjustments to your lures based on your observations—whether it’s a tweak to the color, shape, or weight. Refining your designs will not only improve your catch rates but also enhance your overall fishing experience.
Enhancing Your Fishing Experience Through Lure Making
Creating your own fishing lures can be an enjoyable and fulfilling hobby that enhances your fishing prowess. By understanding the different types of lures, gathering the necessary tools and materials, and following the step-by-step crafting process, you can unlock your creativity and tailor your lures to your fishing needs. Remember, the art of lure making is about experimentation and refinement, so don’t shy away from trying new designs and techniques. Get out there, enjoy the process, and let your handmade lures help you reel in your next big catch!